
How To Properly Paint Your Bedroom
If you’re a DIY enthusiast, we’re sure that you’ll be planning to paint your bedroom in the near future. Even though it seems simple, you need to follow a few steps to ensure a professional result. Follow our guide on How To Properly Paint Your Bedroom on your own as this can give your dull and monotonous space a new look, and you’ll save a great deal of money by not hiring professional painters.
We’ve all had this crazy fantasy of painting our rooms but never accomplished it. If you’re still up for it, follow this step-by-step guide to do a fantastic job while you’re at it.
Step 1: Select an Aesthetic Theme
Speaking of eliminating monotony, you’d desire a look that’s completely new and fresh for your bedroom. It’ll also give you a much-needed change. Research on Pinterest or imagine a final look or an aesthetic theme for your room. Next, imagine which colors will suit the theme best. Fix a color palette and draft a plan for the color shades that’ll go on respective walls. In case you’re confused, an accent wall with a vibrant color always works to give the room a lively touch. Don’t be afraid to experiment with bold and contrasting colors.
Step 2: Choose the Right Tools
To get a professional finish, you’ll require the right tools. These primarily include paint, paintbrushes, paint rollers, paint sprayers, rough cloths, sandpaper, trays, tape, and a putty knife. We’d recommend going with a paint sprayer as your primary tool because it is ideal for non-professionals as it is faster and versatile. You should choose the best paint sprayers to accomplish this task smoothly. Choose one that doesn’t cause paint thinning and is light in weight.
Step 3: Measure the Paint Quantity that You’d Require
Next, you’d need to measure the paint quantity that you’ll require to cover your room. For this, you’ll have to measure your room and get the dimensions to not run out of paint, and also not to waste it. After you have your final dimensions, you can buy the paint according to the ratio of one gallon per 400 square feet. You can also use free paint calculators online that’ll give you an almost precise quantity along with the addition and subtraction of the door and window dimensions. Don’t forget to consider the number of paint coats depending on the shade of color you choose.
Step 4: Getting the Walls Ready
Now that you have your theme, tools, and paint ready, it’s time to get to the physical work. Firstly, get all the furniture out of the room to avoid damage. If you don’t want to go through the hassle of moving it, move everything to the center and cover it with rough clothes. Now is when your tape will come into play. Put the painter’s tape on the corners and skirting of the room to seal it from paint splatters and unfinished edges. Don’t forget to seal the moldings and opening casings as well. If you’re confident enough not to make any mistakes, you can skip this step. But we’d recommend doing it anyway to avoid damage and achieve a finished look. Scrap off or smooth the walls using the putty knife to make a flushed paint look.
Step 5: Preparing the Paint
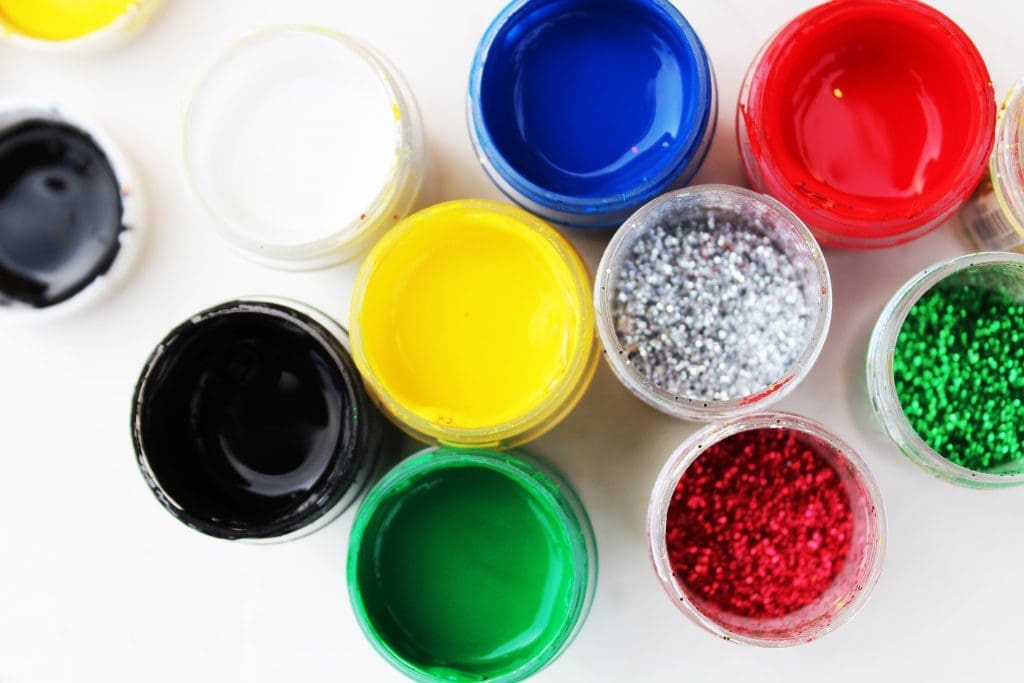
Depending on the shade, thickness, and quantity you’d require for every coat of paint, grab a large bucket and prepare your paint in it. You can easily find wooden paint sticks in any hardware store for this task. Prepare your painting tools like the roller or the paint sprayer, depending on what you prefer. Try to apply a small patch of paint on a wall with a lighter color to test the tool and paint.
Step 6: Using the Appropriate Technique
You need to pay maximum attention to the painting technique to achieve your desired look. Start with the lighter walls first. In this way, even if you’re splattering the paint on your accent wall or a wall that’s supposed to be darker, it can be covered eventually. Also, start from the ceiling and slowly make your way down to the floor to keep the surface even. Your Best Primer For Asbestos Siding will go first, followed by the first coat of paint, and then a second coat. You might want to apply for a third coat depending on the shade you choose.
Sounds easy. Now that you know how to properly paint your bedroom Why don’t you try it yourself this time? While you’re painting the room and after you finish, make sure that you keep adequate ventilation for the paint to dry sooner. And don’t worry if it didn’t turn out the way you wanted it to be; there’s always the next time.


