
What can you do with that blank wall that seems to stare at you saying, “do something, make me come alive?” There are so many options that it can be hard to decide what is the best way to go. To help you get some inspiration to design your photowall, we will go room-by-room on how to design a photowall that is unique and personal. The photowall design will bring each room alive with its own personality.
Travel Photowall
The living room or den is a perfect place to design a travel photowall. A travel wall brings memories alive of the places you have been. It is also a good conversation starter for guests. Look for a wall that has enough space and maybe some room to expand. Ideally, a wall that does not have any doors or windows is best. Measure the wall to determine how much space you have available. You can scatter the pictures around on the wall in random order with different size frames or you can choose a format much like a quilt grouping pictures together. Another option is to have a map of the world in the center and group the pictures around the map.
Movie Photowall
Do you love to watch old movies? The den or entertainment room is an ideal place to design a photowall with vintage posters from old movies, performing arts, music, etc. Canvas prints or posters would be a great way to display your favorite movies and music posters. You can arrange them by genre, and timeframe. Consider framing your posters to protect them. Color coordinate the frames with the rest of the room.
Family History
A blank hallway is a perfect place to hang your family pictures. If you have children, you can dedicate an area for each child. Place the pictures in chronological order from birth to most recent. If your children are grown, married with children of their own you may want to design a photowall with pictures of your grandchildren. Have a mix of professional photos with ones that you have taken to add personality to the wall. You can mix and match the frames, or you can have all the photos in similar frames. The problem with using all the same type of frame is the style may not be available in the future. Instead, opt for frames that are the same color. As the wall fills up, you can remove some of the older photos and keep just the most recent ones on the wall. Remove the photo from the frame and place it in a photo album. Have one album for each person/child. A great keepsake for them in the future.
Children’s Room
The children’s room theme will change as they grow. You could choose one wall to have a mural on the wall. There are so many colorful themes to choose from in different motifs such as nature, abstract, jungle, fantasy, etc. You can choose a princess theme for your little girl or animal characters for your little boy. As the child grows you can change to sports or teen themes. You can even get posters to decorate your college student’s dorm room.
Nature Murals
Do you have a favorite sitting area? A place that you go to relax after a stressful day. That would be a perfect place to put a nature mural. My favorites are a forest scene or a tropical beach.
Hanging Photos and Murals
Tools
There are many different ways to hang pictures. The minimal items needed are a hammer and picture hangers with nails. Picture hangers come in different sizes based on the weight of the picture. If you have heavy pictures, you will need a stud finder. A line laser level tool that has both horizontal and vertical self-leveling will come in very handy when hanging multiple pictures on a wall. Don’t forget the tripod or something for the laser leveler to sit on.
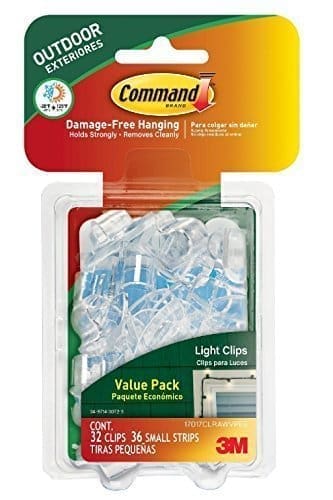
Don’t want nail holes? If you have lightweight pictures less than 16 pounds, you might want to use Command picture hanging strips. Choose a size that will hold more weight than what your picture weighs. NOTE: Command strips work best on small walls.
Plan the layout
Lay the pictures out on a table or floor. Place them in groups. Keep rearranging them until you have the look you want. Cut out the brown paper into the same shape and size for each picture. Write down what photo the paper represents. Using light stick painter’s tape, tape the brown paper shapes on the wall in the order according to your design. Step back and take a look. Are you pleased with the design? If not, move things around both on the wall and where the pictures are laying. Make little pencil marks on the wall. Your laser leveler will come in handy when making the pictures line up horizontally and vertically.
Hanging Pictures
The more pictures you have for your photowall, the more complex and time-consuming the project will be. Give yourself several days or even a few weeks if you have a large wall with many pictures to hang. Best to take time in the layout stage so you get the pictures just the way you want them. If the frames are all grouped in the same size. You can use the laser leveler to known just where to put the hangers. Be sure to measure from the center of each picture frame to the next one to allow enough space between pictures when hanging.
If you are using Command picture hanging strips, install the strips and wait at least 24 hours before placing the picture on the hanger. This will allow the glue on the strips to adhere to the wall. This is especially important if your wall has a rough surface. If too rough to hold a Command picture hanger, go with the standard nail and picture hangers.
Conclusion
Remember to take your time when you design a photowall. Make sure you have plenty of time for the planning and layout stage. You will have fewer problems and not have to keep rehanging the pictures. The more pictures, the more time it will take. Plan on setting aside the time even if you can only work an hour here and there. You will be pleased with your outcome.
Featured Photo by cottonbro from Pexels


