
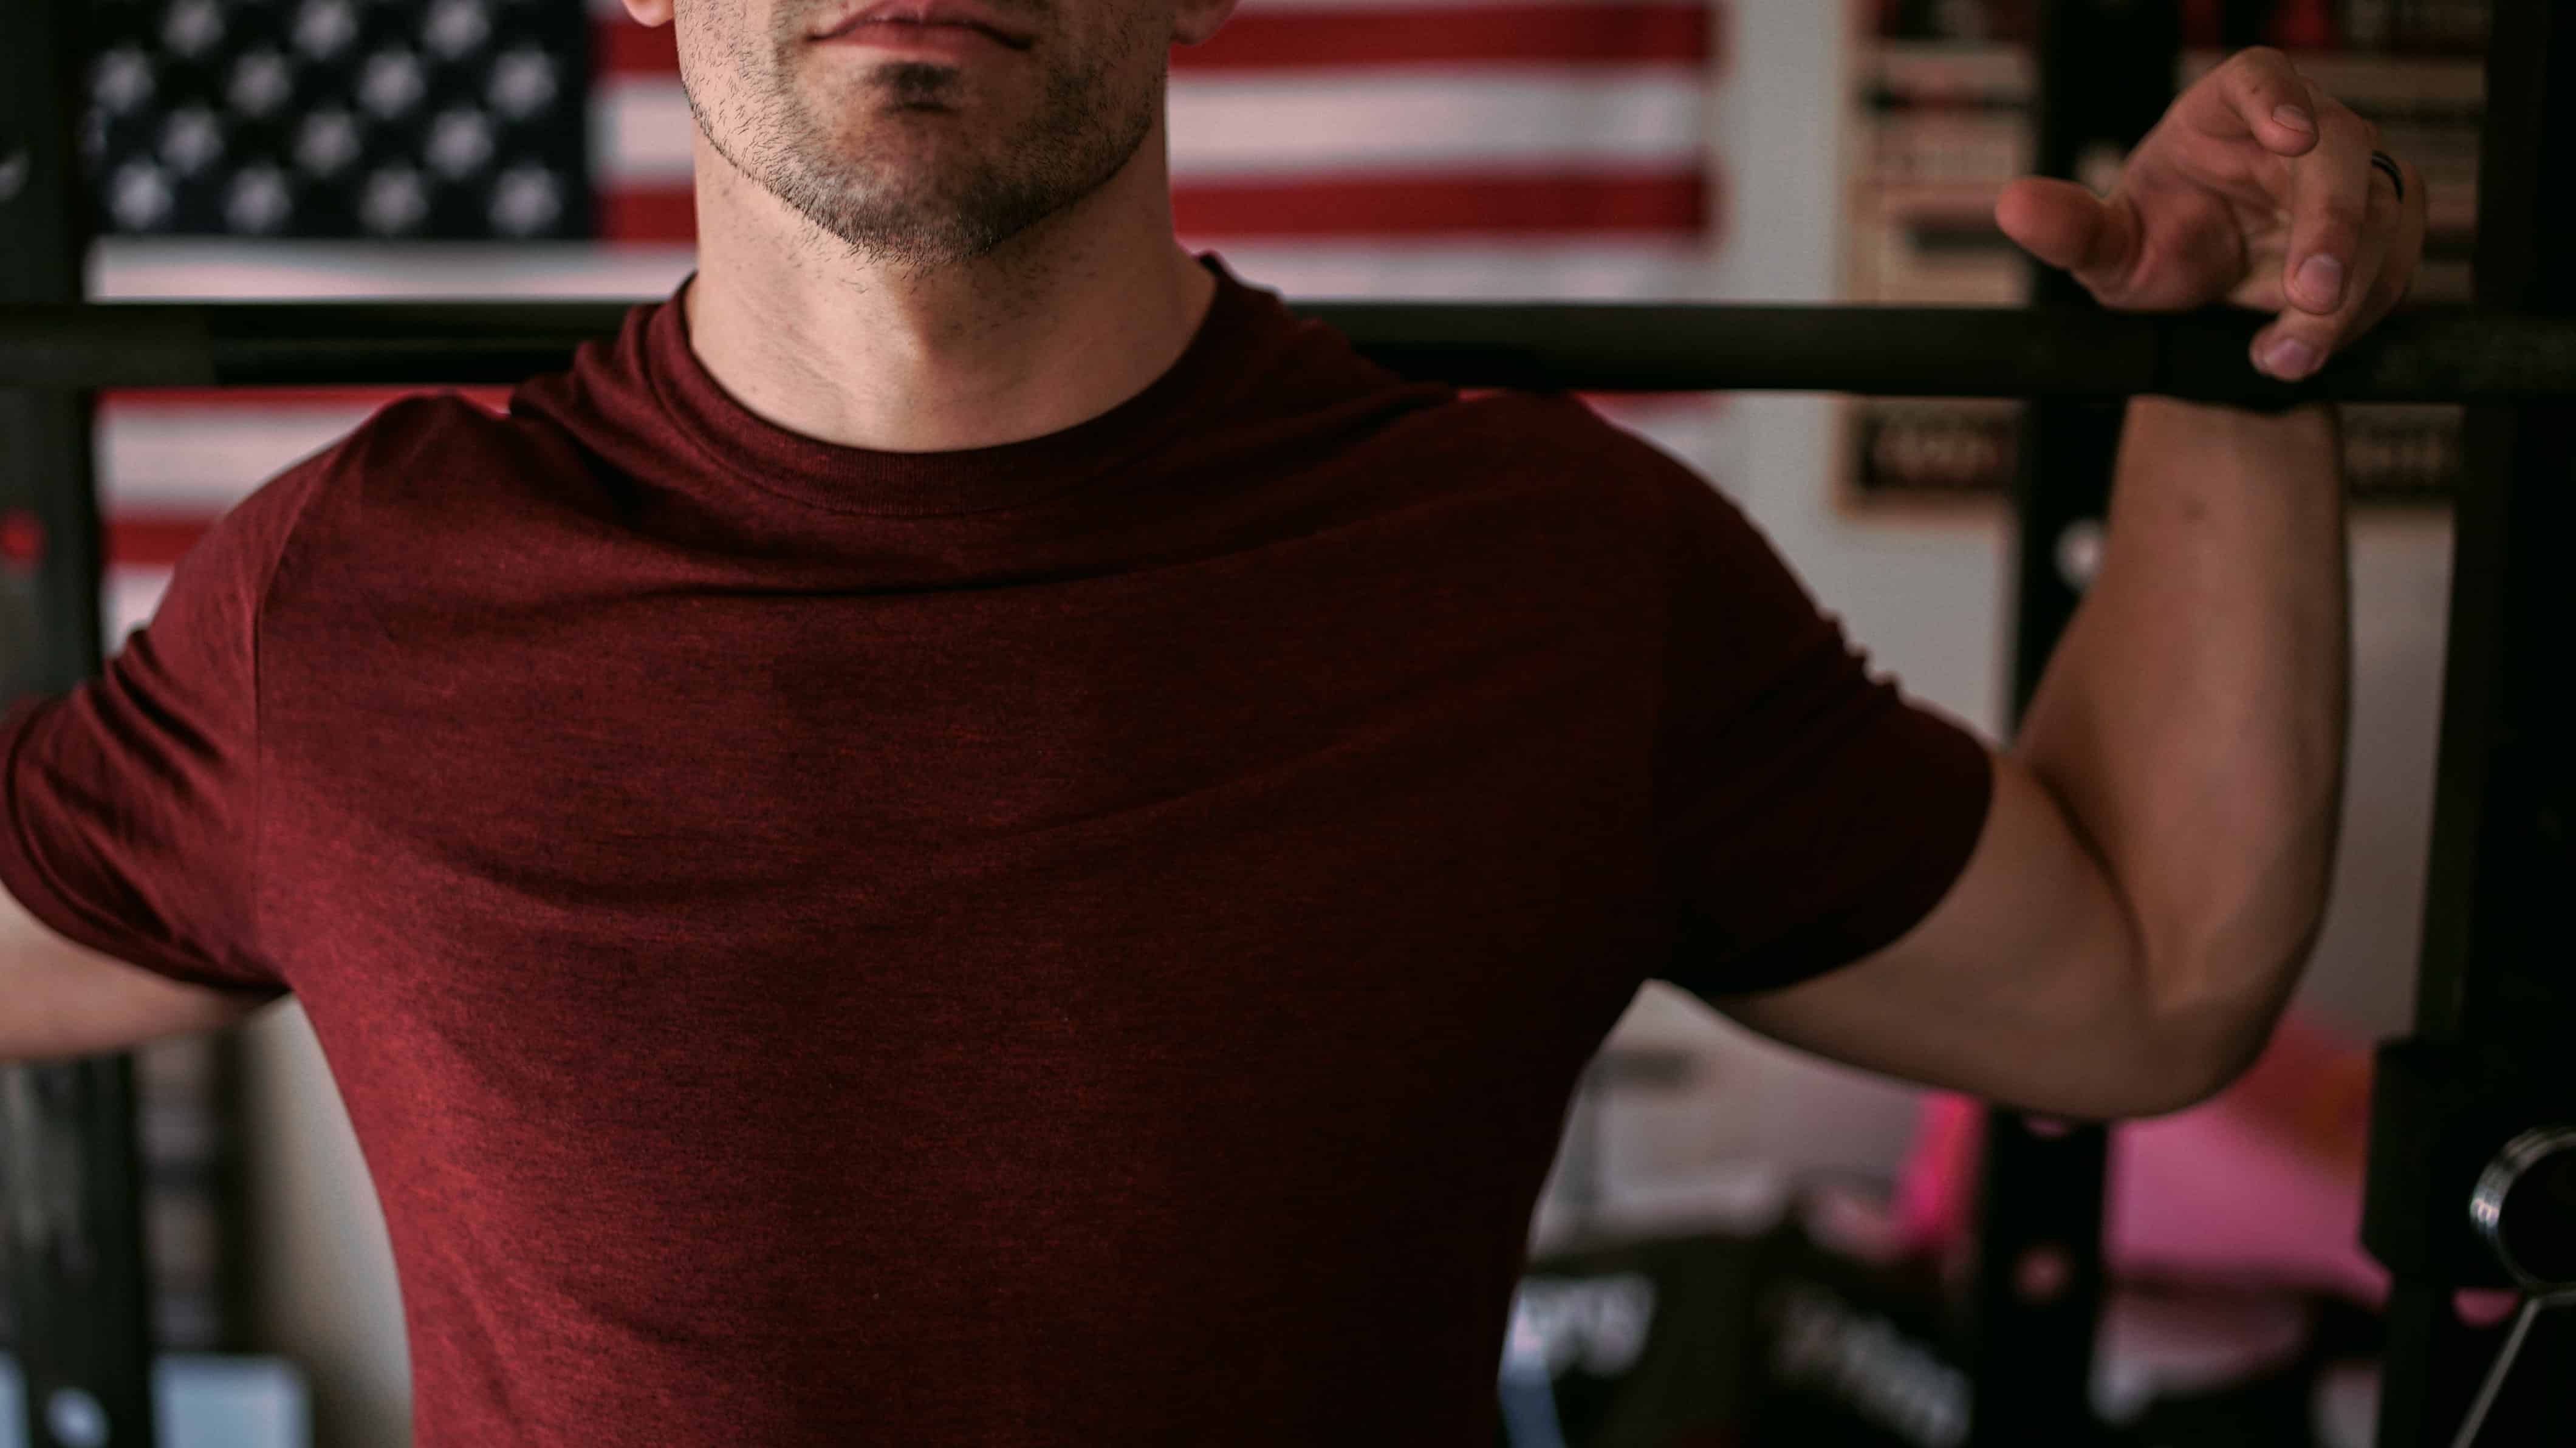
For the last century, one piece of workout equipment has stood the test of time for its potential to build strength, pack on mass, and develop every single muscle in your body…the barbell lifts.
It’s a piece of equipment that’s so incredibly simple, yet so incredibly powerful. The practice of lifting a weighted bar in a handful of directions will not only allow you to build strength but to keep building strength for years and years.
So, if you’re interested in the barbell movements, but you’ve been hesitant to get started because it all seems overwhelming, then this is for you. If you landed here, but need to get your head around exercise in general, you need to start at our Exercise Starters Guide.
The following is a “best practices” guide for five of the most fundamental barbell movements – the squat, deadlift, bench press, overhead press, and row.
I’ll be covering the basics of these lifts, why they’re powerful, and some of the common mistakes you’ll probably make when you attempt them for the first time.
The Squat
One of (if not the) definitive exercise for the lower body, the squat is a serious strength and mass builder. It’s also one of the most natural movements you can perform since humans have been getting themselves into this position for thousands of years for everything from resting to relieving themselves.
But it’s not just that squatting makes you strong. It’s that it makes you strong in a very particular way. Building up your squat will force you to develop incredible leg strength, which will not only translate into any athletic endeavor you can think of but is also very strongly correlated with long life expectancy.
If you’re familiar at all with the squat, you’re likely aware that there are different variations. So…which one should you train?
The Back Squat
Let’s start with the variation that you’re likely most familiar with – the back squat. It’s the one you see in most gyms, and it’s pretty much exactly what it sounds like – loading a barbell on your back and shoulders and squatting down with it.
It’s also the easiest to learn as a beginner, and the one you should probably start with.
The advantages of the back squat include the fact that it’s easier to load the bar with more weight. It also places more emphasis on your glutes, hips and lumbar spine, making it optimal to add mass to those areas.
What you may not have noticed about the back squat (unless you look carefully) is that there are actually two different way of performing it – high bar and low bar.
A “high bar” squat is one in which the barbell sits high up on the traps, and a “low bar” squat is where the bar sits down on your rear delts.
If you’re a complete beginner, you should probably start off with the high bar squat, since it’s easier to grip and to stay upright. If you have shorter legs, you’ll also likely find the high bar squat easier.
With that said, the low bar position does (for most trainees) give you the benefit of being able to handle a bit more weight. It’s also optimal if you have longer legs.
The Front Squat
The front squat is an essential movement in Olympic weightlifting since it represents the midway point of the clean and jerk. It’s accomplished by resting the barbell in front of you up on your anterior deltoids and shoulders.
The front squat is generally more difficult to master than the back squat since it requires more coordination and flexibility. It also focuses far more on the quads and upper back.
While you likely won’t be able to load as much weight on the bar, the front squat is great because it encourages thorasic extension and will force you to correct your posture.
And since most of us spend a great deal of our daily lives hunched over a desk, anything that forces you to bring our shoulders back is a good thing.
It’s also a good alternative if you have lower back pain, since the position of the bar puts less stress on the lumbar spine.
Having said that, it is quite a bit more difficult to master, so most of you will probably be better off adding it into your routine after you’ve got the back squat down.
The Deadlift
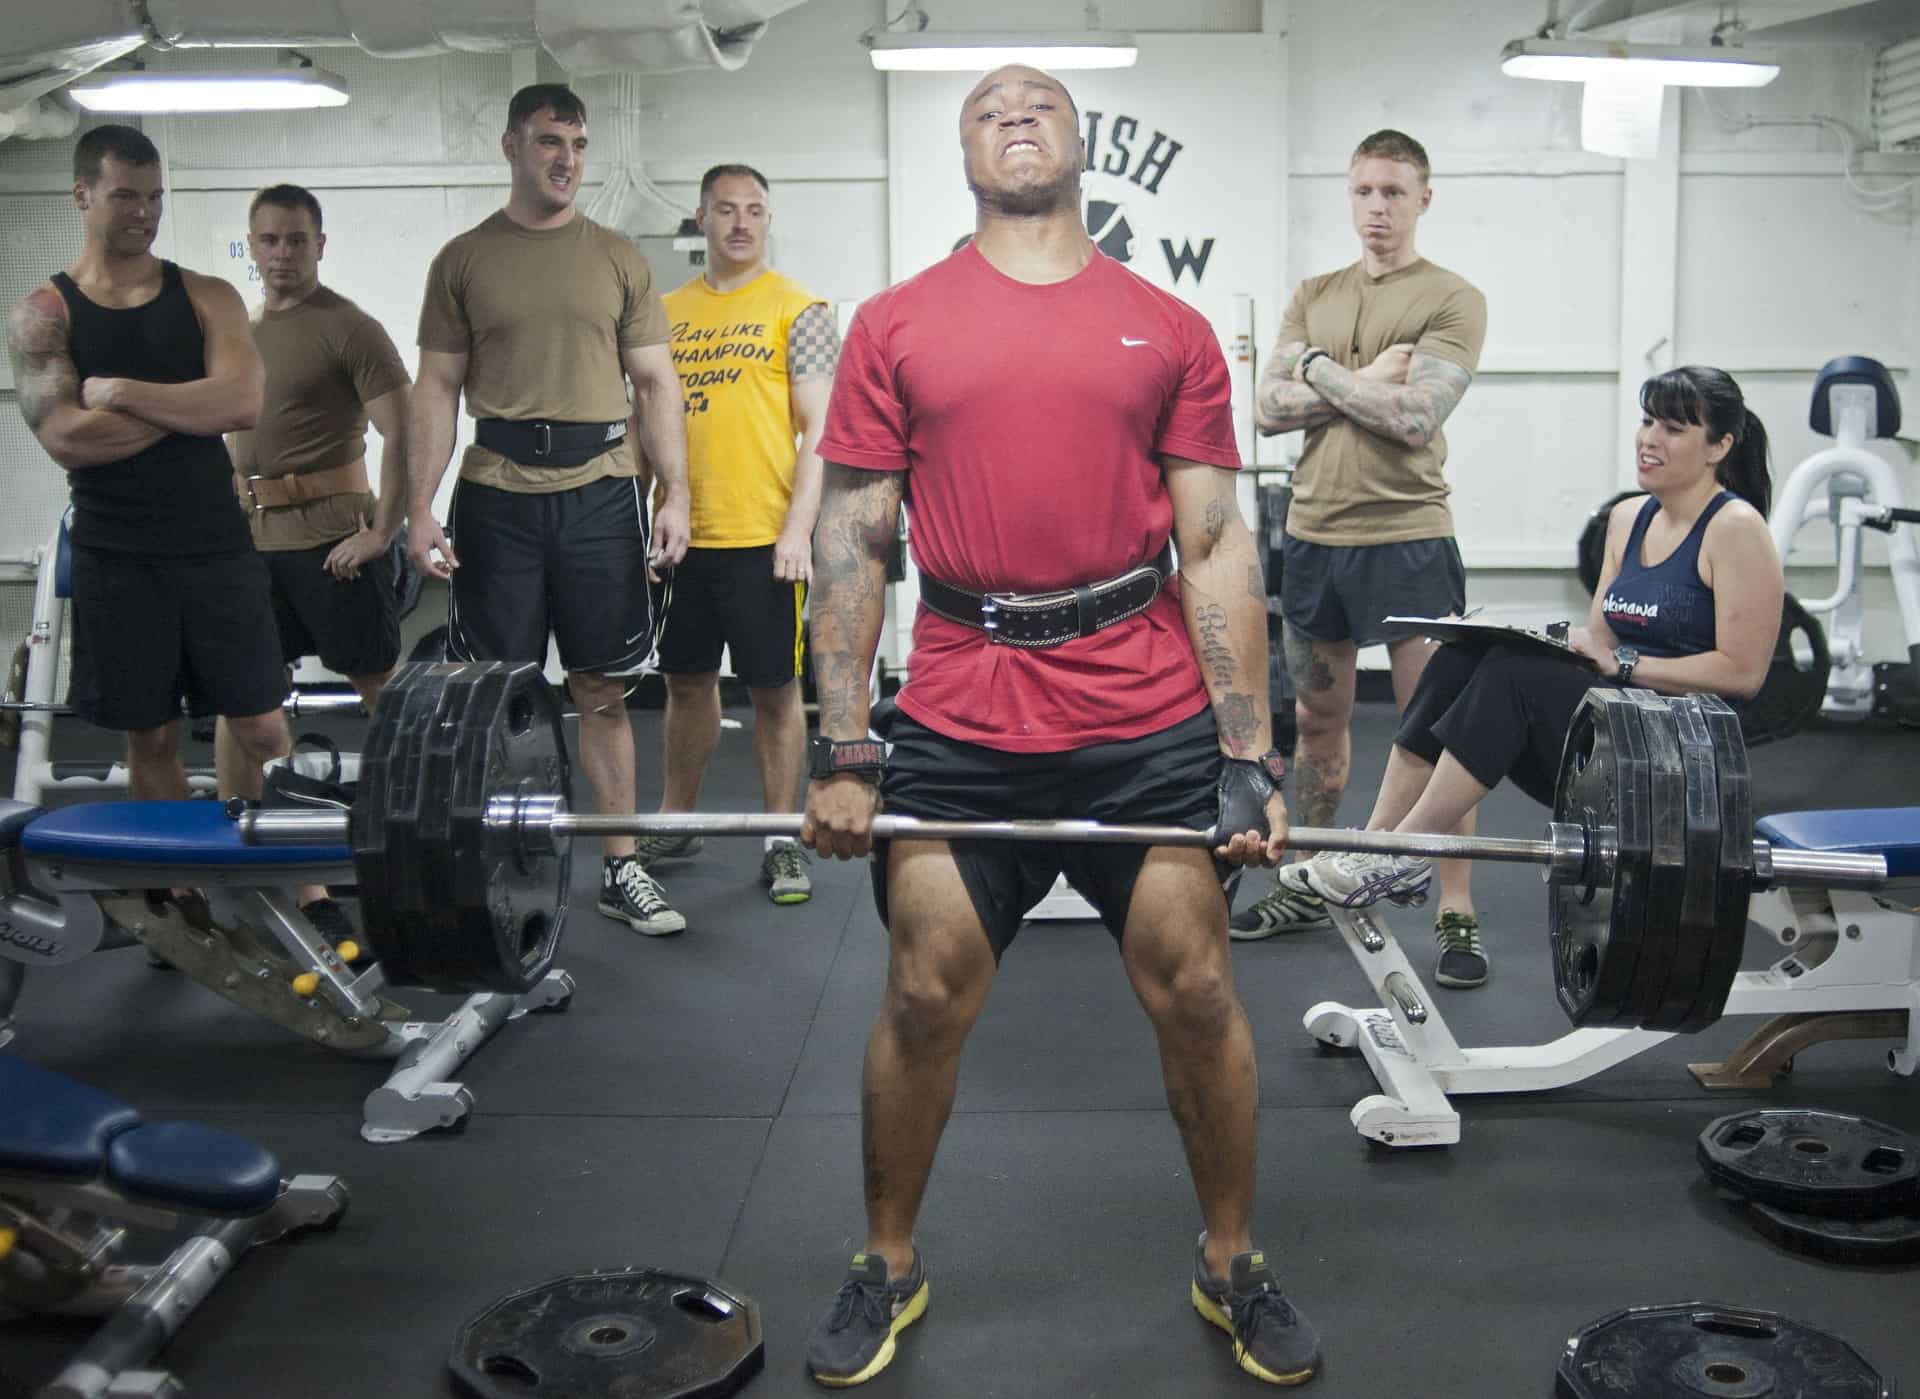
The deadlift is the definitive pulling movement. The ability to grab a heavy barbell and pick it up off the floor mimics hundreds of thousands of year of human movement, and is a fundamental skill that all of you should be able to do.
Not only does it build tremendous strength throughout the (often neglected) posterior chain, it works nearly every single muscle in the entire body.
Having said all of that, the deadlift does have its issues. And before we go on and start giving you tips on how to deadlift, we need to address these so you can decide if this exercise is right for you.
The first problem with the deadlift is the pressure it places on the lower back. If you’ve heard any horror stories, they usually involve the allegation that deadlifting heavy will “wreck” your lower back.
The reality is this – most of the problems associated with deadlifting tend to happen to those with bad form. This is especially evident once guys (and it’s usually guys) start piling the weight on and breaking form for the sake of “getting their numbers” up (often to impress other dudes in the gym).
But while you may be able to avoid lower back problems by maintaining strict form, that’s not going to help if you already have issues with lower back pain.
The second problem is the fact that, despite its apparent simplicity, deadlifting correctly is technically quite difficult. There are a lot of different movements that need to happen simultaneously in order to perform the movement correctly.
Fortunately, there are ways to work around both these problems. While it takes time, good form can be maintained by drilling in a number of cues (which we’ll cover in this article).
And for those with existing lower back problems, there are alternative to the conventional deadlift. These include the sumo deadlift, which involves pulling from a wide, squat-like stance, as well as the trap-bar deadlift, which will allow you to pull in a much more upright position.
How To Deadlift Like A Pro
Tip #1: Keep A Neutral Spine
This is one of the biggest mistakes newbies make, and by far the greatest cause of injury – deadlifting with a rounded back. You need to make sure you maintain posture and keep your back straight throughout the entire lift.
Tip #2: Learn The Cues
In the world of competitive lifting, there are certain cues that lifters use to encourage the maintenance of good form.
And while you most likely aren’t going to be on your way to a competitive powerlifting meet anytime soon, these cues can certainly benefit the average trainee.
“Push the world away.” If you’ve ever deadlifted before, you’ve probably found yourself “pulling” the bar upward. That’s not quite right. Instead, what you want to do is think about driving your feet into the ground with the bar in your hands. Yes, it’s a semantic difference, but doing it this way forces you to keep your chest up and your spine neutral.
“Pull slack out of the bar.” When you’re positioning yourself in the setup and you’ve got your hands on the bar, before you attempt to pull it off the ground, make sure you give it a little tug to apply tension. Doing so will cause your hips to sink into the proper position, cause your spine to go neutral, and force you to engage your lats.
“Accelerate the bar.” This is the cue you use once the bar is up and off the ground. You want to think about getting it up to the top of the lift (or the “lockout”) as quickly as possible. Now, you probably won’t be able to actually get the bar moving any quicker, but thinking about it this way will encourage you to maintain power throughout the movement.
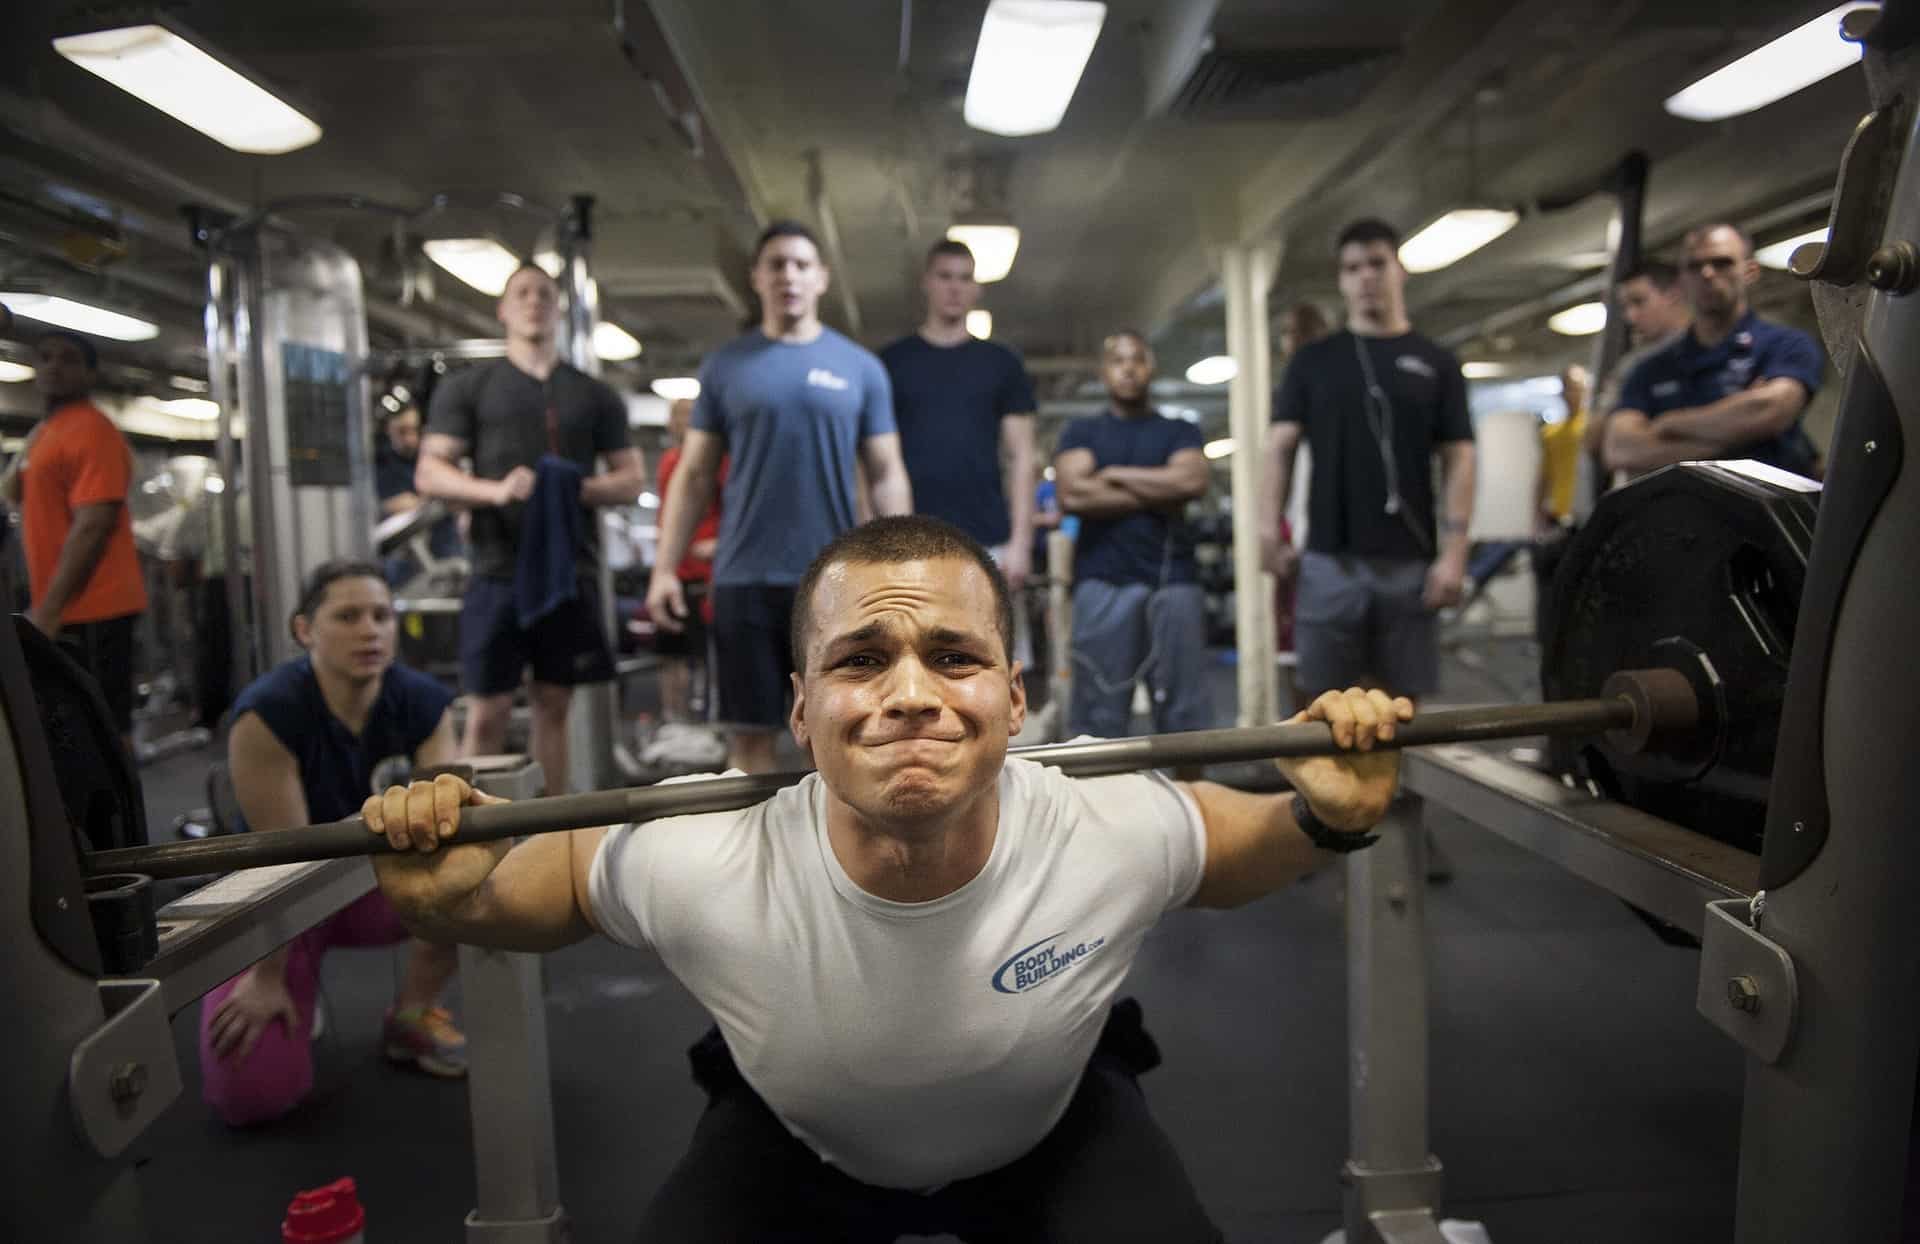
The Bench Press
If you’ve even glanced through the window of any gym, you know what a bench press is.
What you probably don’t know, however, is how to do it properly.
And if you don’t, you’re not alone. Aside from the deadlift, the bench press is far and away the lift that newbies (and even experienced lifters who should know better) screw up.
So, here’s the deal – the bench press is awesome. It will build raw pushing power, as well as a seriously muscular upper body.
But you need to do it right. Failure to do so will result in a messed up set of shoulders, a torn rotator cuff, or, if you’re really unlucky, a 200 pound barbell to the face.
How To Bench The Right Way
The bench press takes a while to get the hang of, and full detailed breakdown of every single one of its nuances is beyond the scope of this article.
Since this is a guide for beginners, we’ll start by addressing three of the most common mistakes that 80% of you are probably making.
Mistake #1: Flaring Your Elbows
This is probably the first mistake you’re making when attempting the bench press. Many first time lifters assume that flaring their elbows nice and wide will give them more power. They also assume that doing so will put more emphasis on their chest and pecs.
The first assumption is incorrect. While it may feel counter intuitive, keeping your elbows in will actually result in a stronger bench.
The second is actually right. Flaring your elbows and assuming a wider grip will do more to engage your chest. Unfortunately, it will also put your shoulders in a compromised position, leading to potentially serious injuries later on down the road.
Bottom line – if you want to be able to not only bench, but to keep benching, keep your elbows in.
Mistake #2: Not Pulling Your Shoulder Blades In And Arching Your Back
The second most common mistake is to keep a flat back with rounded shoulder. Not only will this result in a less powerful bench, but by keeping your shoulders in that position, you’ll end up putting too much stress on the rotator cuffs.
Instead, focus on squeezing your shoulder blades tightly together (one of the common cues powerlifters use is to “imagine that you’re trying to crush a grape between your shoulder blades”).
You’ll also want to get set up by placing your feet on the end of the bench, pushing up so that your back arches, and then planting your feet nice and firm on the ground.
By doing this, you’ll protect your shoulders, distribute the weight more evenly, and ultimately be able to press more.
Mistake #3: Benching Without A Spotter
Listen up boys and girls, because this is some serious shit – the bench press can kill you.
All it takes is one mistake when you’re tired, and you’ve now got a 200 pound bar crashing down on your chest, neck, or face.
If you’re going to bench, get a spotter. Or at the very least, bench inside a power rack with safety pins.
The Overhead Press
The other pressing movement you’ll be doing is the overhead press, which is exactly what it sounds like – taking a barbell, pressing it clean over your head, and then bringing it back down.
Being able to push a bar over your head is a critical component to both of the Olympic lifts (which will not be covered in this guide due to their level of difficulty), but it’s also a fantastic movement to learn by itself.
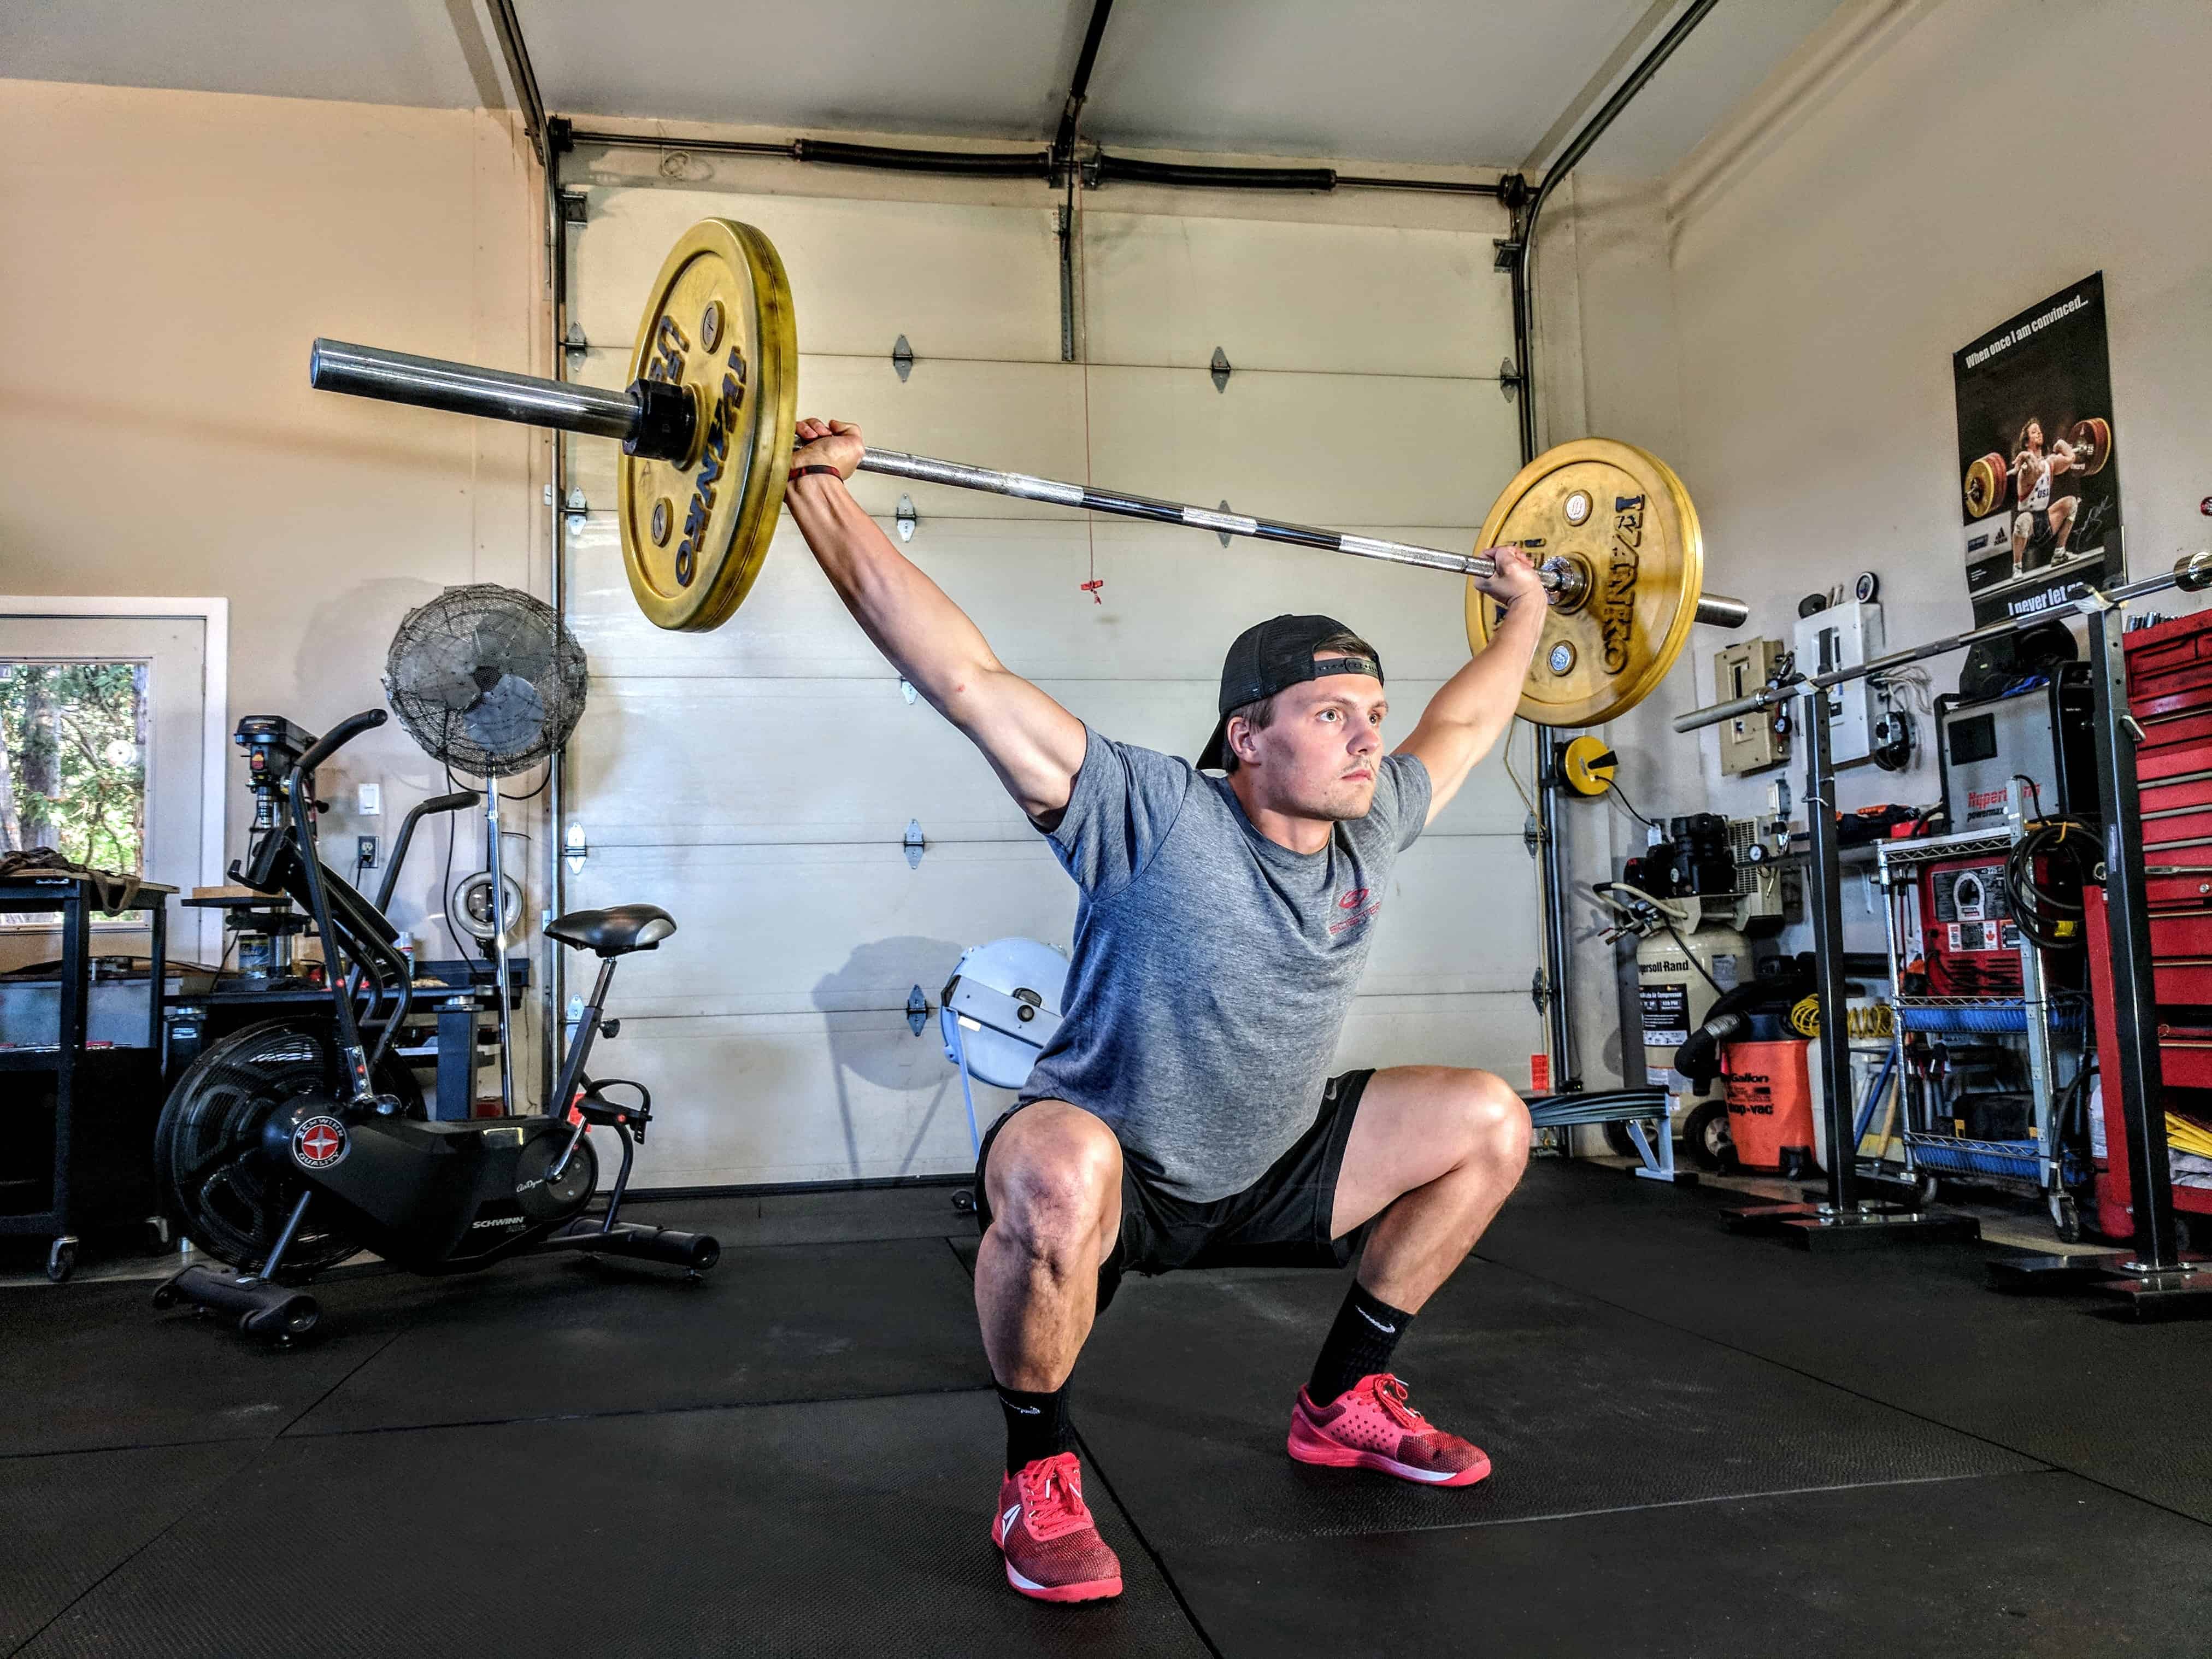
And if you guessed that pushing 150 pounds over your head will build an impressive set of shoulders, you would be correct.
There are two different ways to do this lift. The first is the standard “standing overhead press”. The second is the seated overhead press (often referred to as the “military press”).
The advantage of a standing press is the fact that it recruits the lower body and abs as well as the upper body, giving you the ability to load more weight on the bar.
The advantage of the seated press is the fact that, while you may not be able to go as heavy, you’ll isolate your shoulders more than you would if you were standing up.
This is a phenomenal exercise to build both strength and power, however, it does have its issues and it may not be for everyone.
The first problem is the fact that this movement does place some tension on your lower back. While the effect is minimal for most people, if you do happen to have a lower back issue, consider switching to a seated overhead press.
The second, and much more common, issue is the fact that a lot of trainees report that the overhead press causes them shoulder pain. The problem isn’t really with the lift, but the lifter – the shoulder pain you’re experiencing is most likely from a lack of mobility in this area, since a proper press requires quite a bit of flexibility at the top of the movement.
If this is the case for you, then I suggest backing off the overhead press for now. Work on your shoulder mobility and flexibility, and then come back to it.
The Barbell Row
Last but not least, we have the barbell row. While it’s often not included in the major lifts, it is a fantastic movement for building thickness in the back, as well as providing some additional pulling work to all the pressing you’ll be doing.
The variation I’ll be covering, and the one you should probably be doing, is the bend over barbell row. This involves picking up the barbell off the ground as if you were doing a deadlift, lowering it slightly, and then pulling the bar toward your midsection, thus engaging most of the muscles in your back.
This is a fairly straight forward lift to get the hang of, but there are a few things to keep in mind.
Tip #1: Keep Your Spine Neutral
Just like the deadlift, it’s really important that you maintain a neutral spine. You want to avoid the temptation of rounding your back out (especially when it starts getting heavy.
Tip #2: Consider Using Higher Reps
Most of the lifts outlined here tend to work well with both high and low reps, but this particular exercise tends to lend itself better to the higher rep range (8-12 reps), and a lot of lifters find they get better results with a higher volume approach. It’s also a good idea if you’re a beginner, because more reps means more practice engaging your entire back during the row.
And that’s that – the five basic barbell lifts. While there are certainly others out there, these are the lifts that have stood the test of time for their ability to build strength, muscle and power.
Now, if you’ve read through this guide, and you’re still wondering if barbell training is for you, we’ve got you covered. The next topic in our Exercising Starters Guide is all about free weights vs machines, how to evaluate the pros and cons of each, and which you should choose for your particular goals.
For more information on how to make use of these lifts in an intelligent workout program, make sure you check out Part V of the Exercising Starters Guide, where we go into detail breaking down how to choose and implement an intelligent workout plan.


